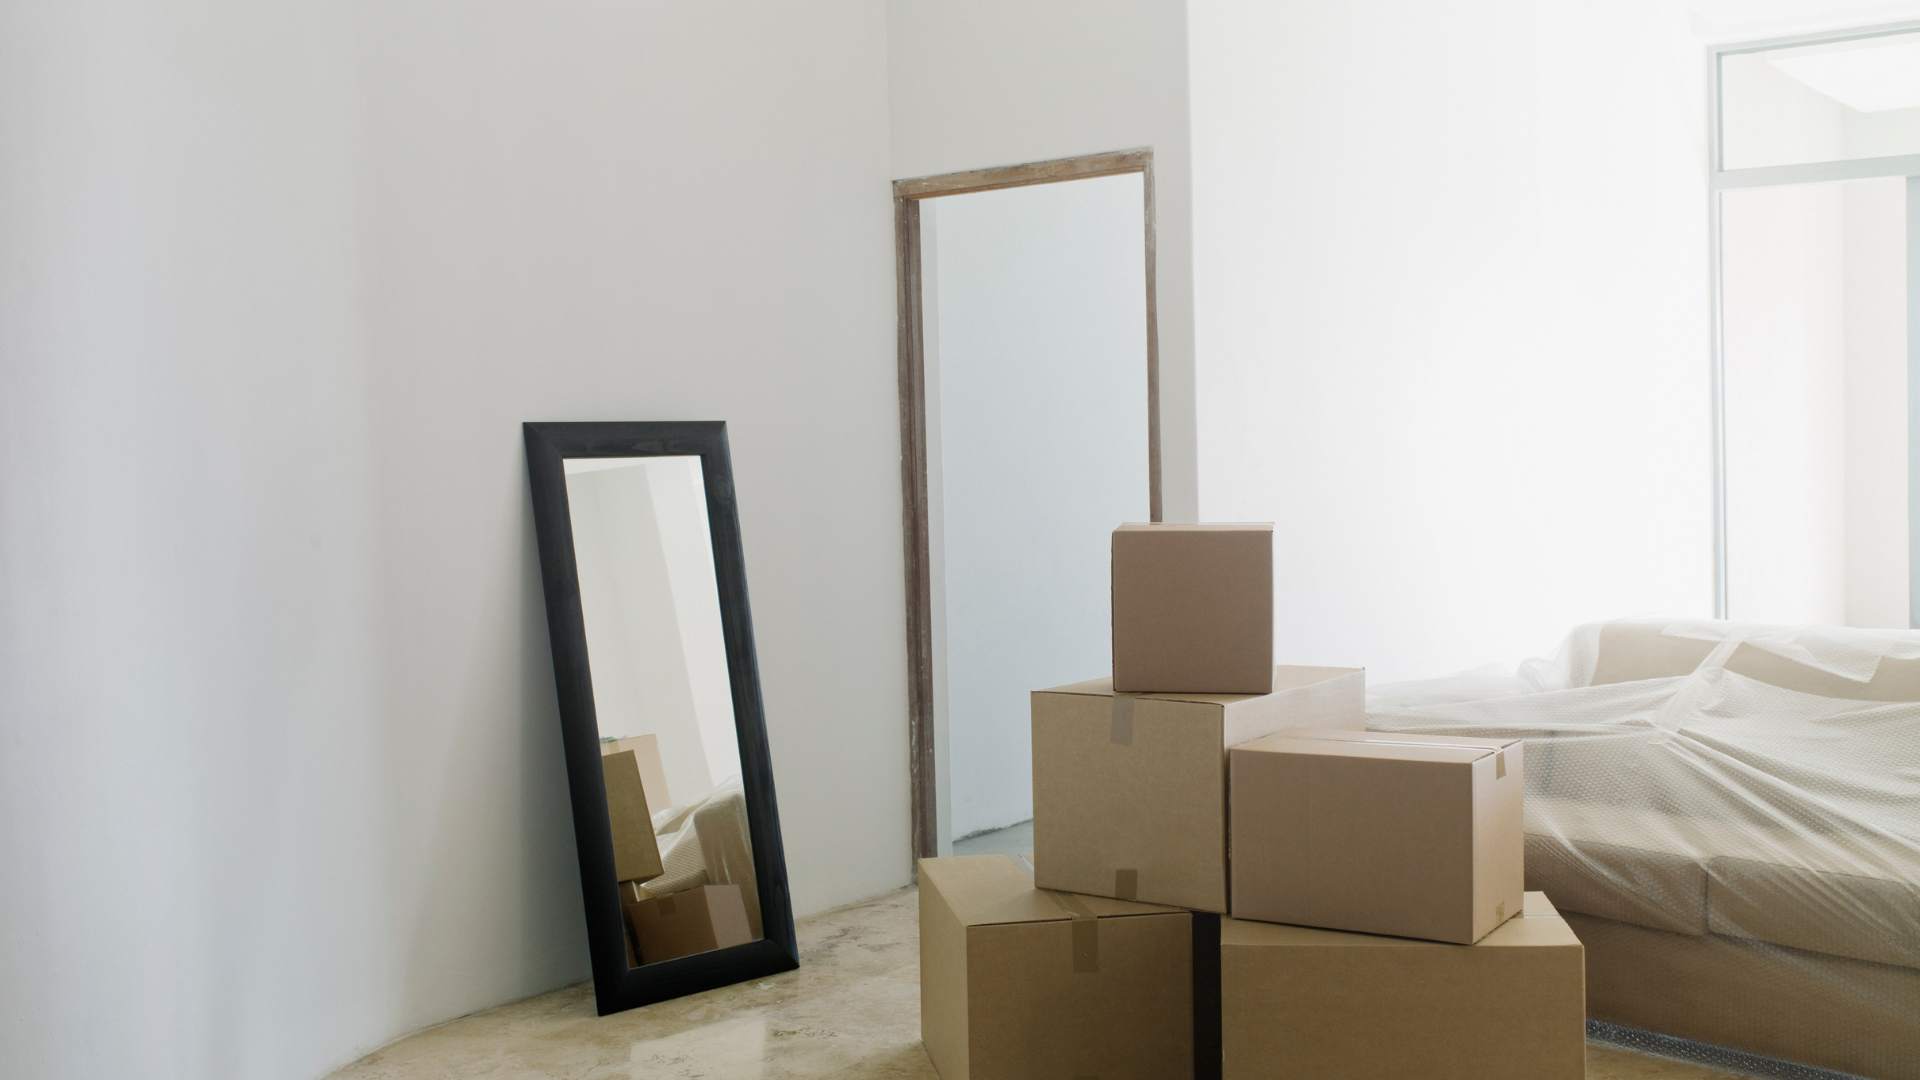
When it comes to delicate items like pictures and mirrors, the moving process can be a bit nerve-wracking. These cherished pieces not only hold sentimental value but are also often fragile and require special attention. To ensure your artwork and mirrors arrive at your new home unscathed, here’s a comprehensive guide on how to pack them securely.
Step 1: Gather Your Materials
Before you begin packing, make sure you have the right materials on hand:
- Packing Paper: Purchase a sufficient amount of packing paper to wrap each item. This will act as the first layer of protection against scratches.
- Bubble Wrap: For an added layer of cushioning, invest in bubble wrap. This will help absorb shocks during transit and protect your pictures and mirrors from potential impacts.
- Packing Tape: Choose a high-quality packing tape to secure the wrapping and keep everything in place.
- Cardboard or Mirror Boxes: Invest in sturdy, purpose-built mirror boxes or use cardboard to create custom-sized boxes. The boxes should be slightly larger than the items to allow for additional padding.
- Corner Protectors: Consider using corner protectors to safeguard the edges of frames and mirrors.
Step 2: Prepare the Pictures and Mirrors
- Clean and Dust: Before packing, gently clean the glass surfaces of your pictures and mirrors. This will not only ensure they arrive at your new home in pristine condition but will also prevent any dirt or debris from scratching the glass during the move.
- Remove Hanging Hardware: Take down any hooks, wires, or hanging hardware from your pictures. This will help reduce the risk of damage and make the items easier to pack.
Step 3: Wrap Each Item Individually
- First Layer – Packing Paper: Lay out a sheet of packing paper and place the picture or mirror face down on it. Wrap the item completely with packing paper, securing it with tape. Pay extra attention to the corners and edges.
- Second Layer – Bubble Wrap: Once the first layer is in place, wrap the item with bubble wrap. Again, secure it with tape, ensuring all surfaces are well-protected.
- Add Corner Protectors: If you’re using corner protectors, place them on the corners of your pictures or mirrors. These will provide additional reinforcement for the most vulnerable parts of your items.
Step 4: Pack in Boxes
- Choose the Right Box: Use mirror boxes or, if unavailable, select a flat box that is slightly larger than the item. This will allow space for additional padding.
- Add Packing Material to the Bottom: Line the bottom of the box with packing paper or bubble wrap for extra cushioning.
- Place the Wrapped Item in the Box: Carefully place your wrapped picture or mirror in the box, ensuring it is snug but not overly tight. Fill any empty spaces with additional packing material to prevent shifting during transit.
Step 5: Seal and Label
- Seal the Box Securely: Once your pictures and mirrors are in the box, seal it securely with packing tape. Reinforce the corners and seams to prevent the box from accidentally opening.
- Label Fragile: Clearly label the box as “Fragile” to alert movers and yourself to handle it with extra care.
Step 6: Move with Care
When moving day arrives, communicate with your movers about the fragile nature of the boxes containing your pictures and mirrors. If possible, transport these items in your vehicle to have more control over their handling.
By following these steps, you can ensure that your cherished pictures and mirrors make the journey to your new home unscathed. Taking the time to pack them properly will not only protect these valuable items but will also provide peace of mind during the often stressful process of moving.
.svg)


